All is changing very
fast now, once the project goes to the trim shop, you can see it become a car
day by day.
But first I have to
say that I made an agreement with my friend Michel - from the trim shop - that I would come to the shop everyday to
give him a helping hand where that was possible. Not only because he was so
friendly to take my car as an extra he has a waiting list but also because
on certain points there are decisions to be made, based on a little bit of
imagination.
Again because of the
little one can find about these cars... And no, the book Original Morgan
cannot solve that problem, a few photographs are not enough to rebuild a car in
the correct way. And beside of that, sorry to say, but the information you can
find in it is not so correct at all.
But in the past I
made my homework where possible, collecting a much photographs I could find or
take myself, and that should be enough to build a nice interior.
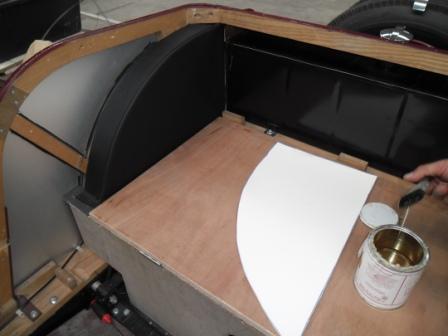
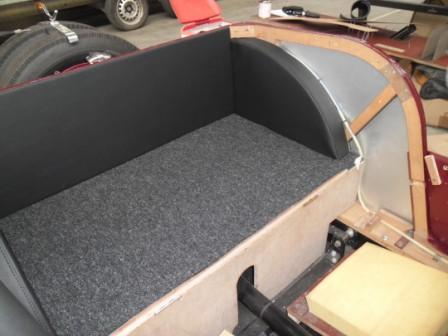
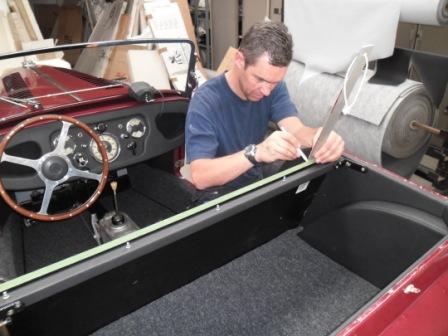
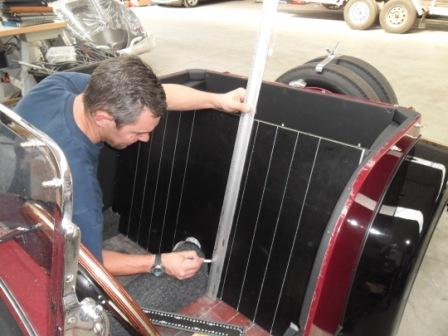
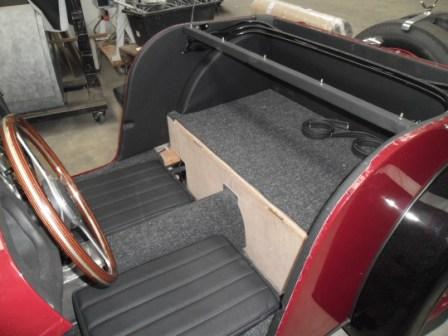
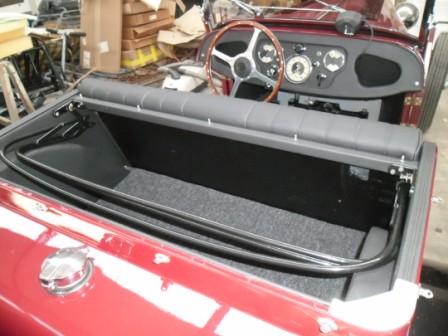
So we started off
with the space after the bench seat, what you can call the boot. First he
made the upholstery for the wheel arches, followed by the mat, and then
followed by the rear and side panels.
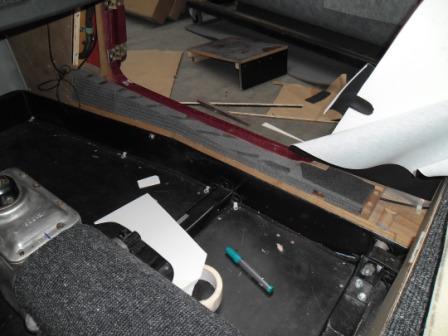
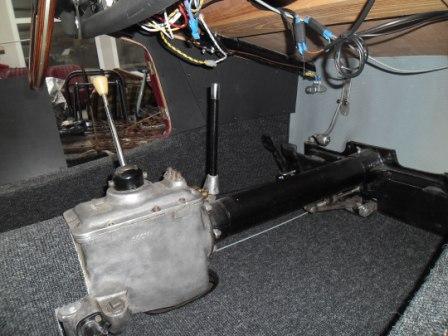
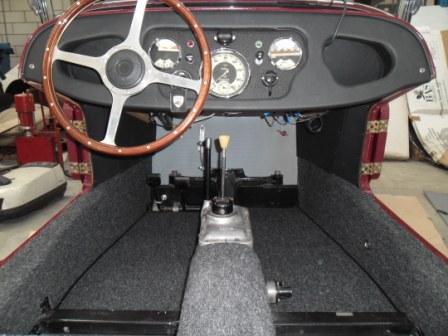
Then we moved to the
cockpit of the car, and we brought the sills in shape with a strong foam, so
we could make a nice curve from top to bottom. Then the kick panels were
made, and the mats for the bottom.
The Michel started on
the back of the seat, carefully measuring out where he had to make the stitches, so it would be visual perfect.
Again we had to use a bit off imagination, but in the end it all came well.
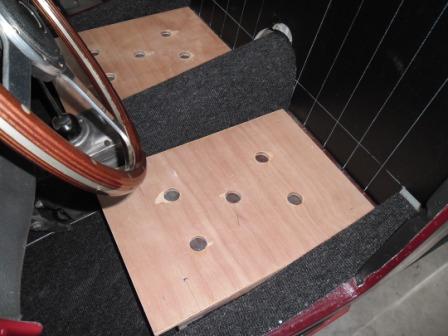
Whilst he was
struggling with that back, measuring and counting, I made the wooden undersides
for the two seat cushions, and a simple system to keep them in place, although
easily removable. We agreed to make the seat cushions 8 cm. high, and in 30
minutes they were ready.
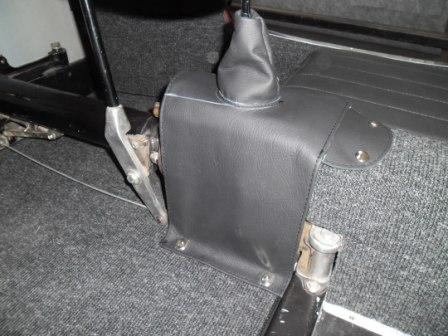
Then a cover for the
gearbox was made, based on a few pictures all of them showing a different
model of cover and our imagination. Correct or not? The result looks fine,
and thats ok for me.
Then the bench was
ready, and the puzzle felt together. For me the result is very nice, and people
that have seen it agree with that. I think we made a great result, started with
what we had to compare with.

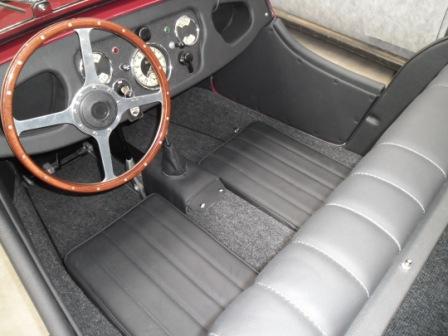
Now it is just a
matter of getting the front wings in place, and put the aluminium/ rubber profiles
on them. I am happy!
04-11-2014, 11:44
Geschreven door Jeff OdH 
|


