It has been a long time since I posted some material about the rebuild
of my Morgan. But as I found out last year, the summer months are not the best
to obtain some progress. There are so many other things requiring my attention,
that I neglect my baby. Shame on me!
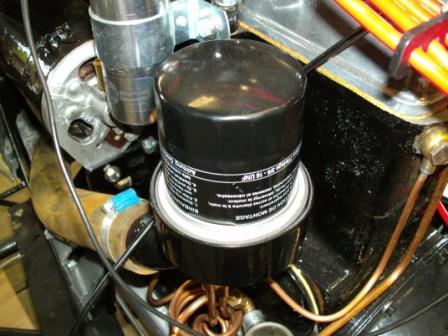
Nevertheless, I made some progress since my last report. I can say that
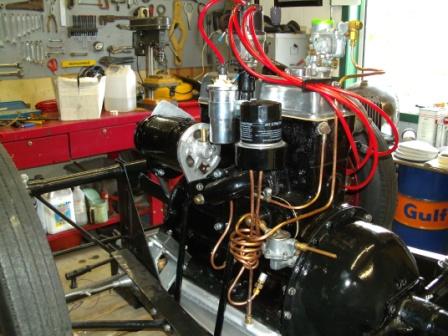
I finished the engine, but to do so I had to make some parts myself, thereby
the spin on oil filter conversion being the most challenging.
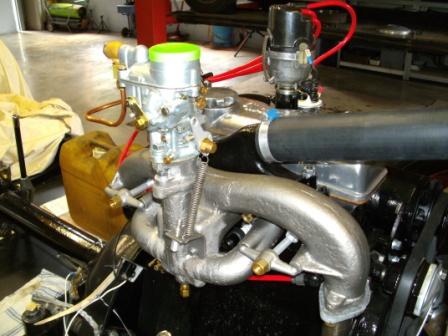
I spend a few hours at MANO, a firm that provides all kind of parts and
tools for the industry. Luckily we managed to find the right adaptors and tubes
that I needed to make the conversion plate. After that the plate itself was a
simple job on the latte, making it on a logical thickness and drilling the
holes on the right spots. The right tread was simply tapped by hand, and it was
done.
 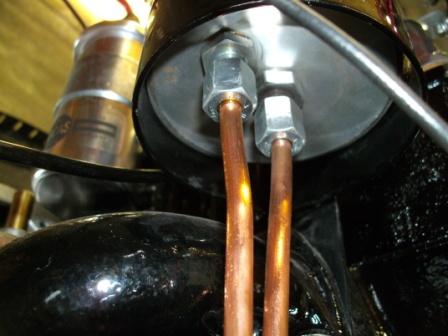
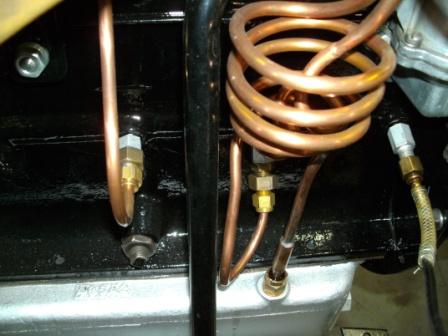
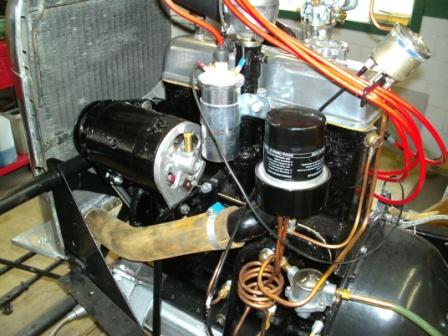
Then I had to make some conversion adapters on the oil lines going from
the side of the engine block to the oil filter and back to the oil pan. All
those original adapters are in BSF, and if there is one thing you cannot find
in Belgium... right. So I welded some current adapters to my old ones, one side
taking the new oil pipes, the other (old stuff) going in to the engine. Rather
simple, and safe.
The dog drive for the distributor appeared as a problem, but in fact was
a piece of cake. I first made a tube of the correct length and thickness, and
then made on both sides the necessary cut-outs. It fits perfectly, does what it
has to do (turning), and so I dont expect future problems with that.
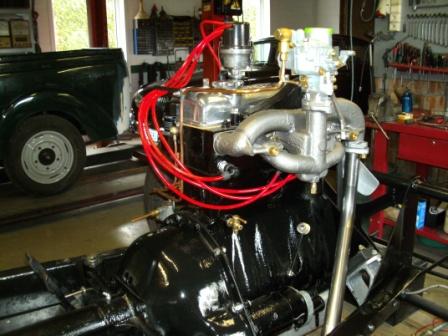
So with the distributor now in place, it was time to set the timing. I
just turned the nr 1 cylinder on his compression point, marked out where the
rotor arm was pointing to, and took that as a standard to start the festivities
with... Then came the spark plugs in,
and could I make the high tension cables.
But then it stopped, no time anymore. The Morgan has gone in his summer
sleep J
But on a very sunny Sunday - 12 august 2012 I decided that it was time
to wake the sleeping beauty. So I first made a temporarily oil line to an old
oil pressure meter. I thought that at least would be something to keep an eye
on, as it would start. The I placed a fresh battery on the floor board, made a
decent plus and min connection, a temporally fuel line, and a current line to
the coil. Off course I filled up the engine with oil (half synthetic), and
bolted the exhaust on.
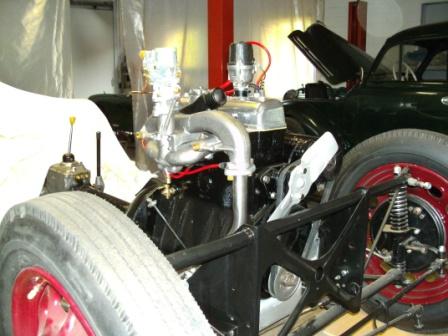
OK this was the moment of truth... With the plugs out I let the engine
go round on the starter, to build up some oil pressure. That turning around also
provided fuel to the carburettor, so we were ready. Plugs back in, power to the
coil, and then I pulled the starter.
YES ! after a few seconds the engine came alive, after ± 40 years! A great
moment, and what a sound J
This test was still without radiator, because I still have to remake
that part. It has a slight leak and it has to be recromed. So without that necessary
cooling, I only let it run for a minute or so. But the radiator was on in about
15 minutes, still leaking (not really bad) but better than nothing J. So I restarted and let it run for 10 12 lovely
minutes, without any problem. A great day, a big step forward for me.
So next BIG problem is my radiator. I had a price quote from a
specialist in the UK, I think he is the only one that can make a series I
radiator. It comes out on about 5.000, but to be honest I cannot spend that
amount on a radiator alone. What he makes is top work, I have seen it and believe
it cost that much to make such a radiator. But no, my restoration budget cannot
cover that. So if anyone can give good advice on my radiator, PLEASE DO !!!

21-08-2012, 22:22
Geschreven door Jeff OdH 
|


