After
solving my problems with the steering box, I had to go on with the project, it
has been neglected too long. So here is an update, but I am already a bit
further in restoration than in writing, isnt that good news?
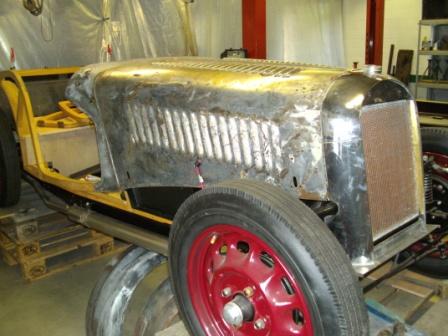
After placing the old panels on the skeleton body, just to have an idea
how the car looks or have to look, I had to decide how to remove the old paint
without damaging the body parts.
To be safe, I decided to have the paint from most of the parts chemically
removed, simply because the metal is only 0.8mm thick. When you try to remove
the old paint purely by sandblasting on such a thin metal, the chance that you
end up with nothing than scrap metal is around 100%.
And yes, I know there are several meanings about chemical paint removing
on car parts, the product stays between double plating an things is a common
complain, but I felt I had no choice. So I took everything off and brought it
to ICS in Sint Niklaas. They have a fairly good reputation in chemical paint
removing, so I decided to let them do the job. The factory didnt looked inviting, but the work I saw did. So
come on, and go for it....
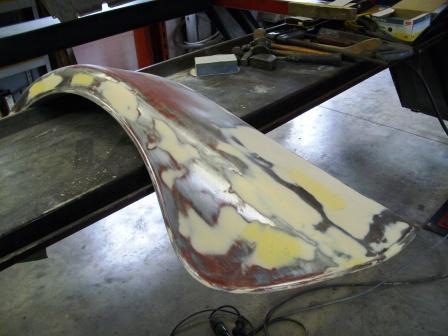
I had to wait a few weeks before my parts were ready, and the result is not
all nice to see, but exactly what I expected. All the old paint was gone, and
the rusty areas completely visible, exactly as I hoped.
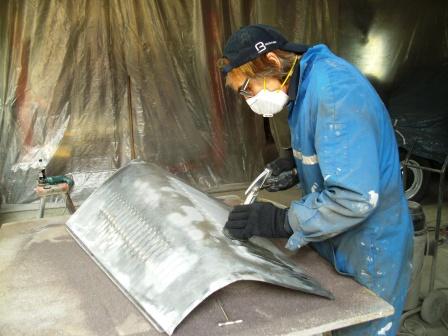
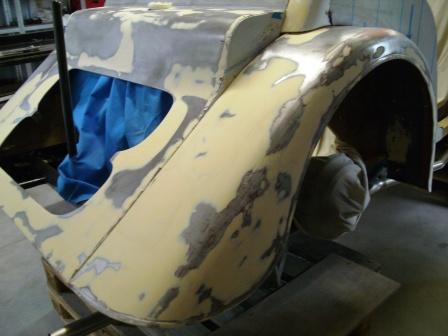
So now it is time to do some cautious sandblasting, on the rusted parts.
Theo my best friend offered to do it for me, I just had to set him on track,
and help a little bit with the difficult parts. We did the job simply at home, with
the little DIY sandblasting tool, and no more air pressure than necessary. That immense job took a few days, mostly
because the air compressor could not follow the huge demand on air. Theo had to
wait regularly, but at the end I had all the thin parts (that is except the
front wings, that are much thicker and can be done by a professional
sandblasting company) rust free and put in a protective red paint. Some kind of
a friend, no?
I repaired the cracks in the rear wings, reinforced them, hammered the
dents out, and welded new metal in the holes from the incorrect rear lights. No
holes anymore at this stage, I make the new ones at the end with the new rear
lights as a pattern. After the wings I did the same with the rear panel, the
back where the spare wheel comes through. A hell of a job, again because the
metal is so thin, and because the panel has been repaired several times in the
past, and not always by the best body repairer... But as my father used to say:
difficult works also, a bit slower, but it makes you smarter J. Then I
placed the rear panel and the rear wings on their place, and attacked the left
over dents with metal putty. Then a tour with abrasive paper, and again putty,
and so on and on...
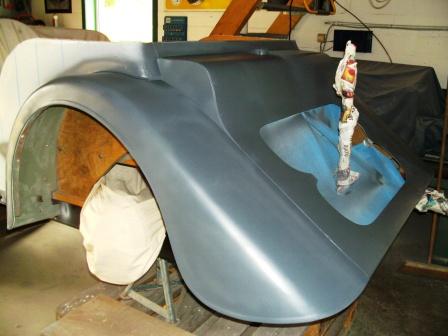
Until the moment I decided that the result was good, and I could paint
the rear of the car in primer. Not only a great sight, but a real boost to
continue working.
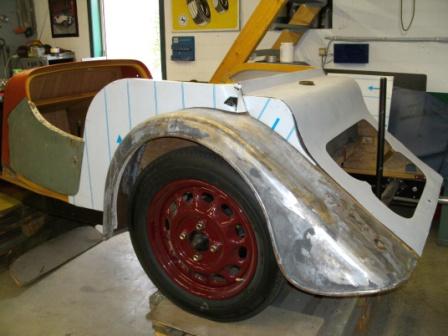
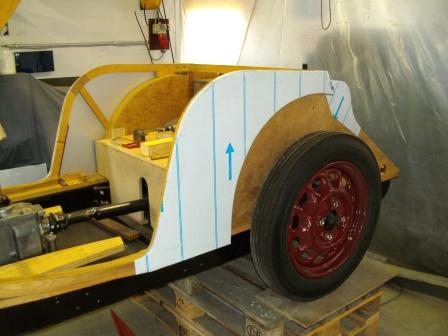
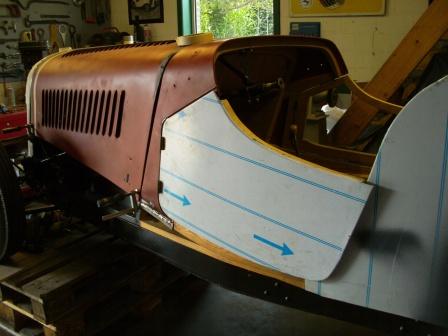
With the rear quarter panels I had some other plans. They were so bad on
the lower part, that I definitely had to make new ones. So I thought, I better
make them in aluminium. And so I bought a plate off aluminium that the
professional aluminium van builders use. It is called in Dutch anodised
aluminium and has a far better quality
for this kind of use than a normal plate you can buy in the DIY shop.
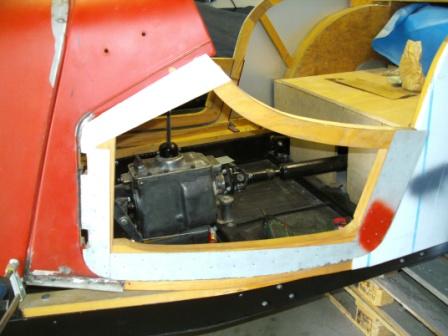
Making the quarter panels was easier than I expected. But to be honest,
I have to thank another friend Kris on that, for his good advice and help. He
has some experience with that kind of a job, from the time he restored his
Hotchkiss. So first we made some patterns from cardboard, and then we cut out
the aluminium with an extra 2 cm on the edges. Than we placed the panel on the
skeleton, and use spanners and some plywood to keep it strongly in place.
Hammering the edges around the wooden frame was easy, and then we fixed it with
nails. Piece of cake...
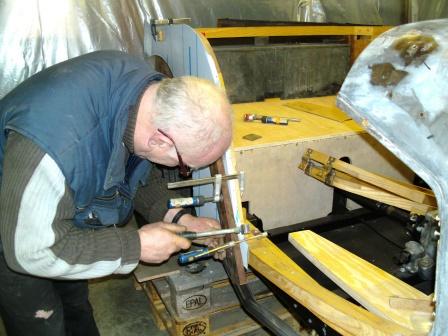 
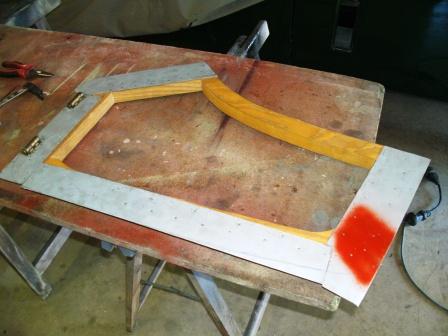
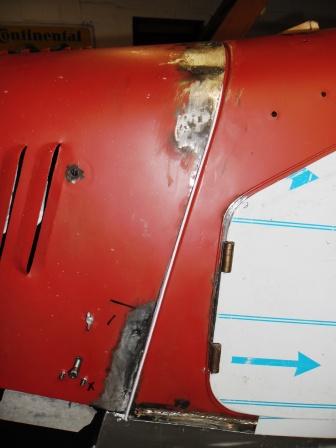
The doors where not that easy, but at the end also not really difficult,
because the main system stays the same. First you have to fix metal plates on
the wooden frame, creating the door shape. And that is the base where you fold
the aluminium around, so making a door skin. First we made the metal plates,
and fixed them to the wood with nails. Then with the old door skin as a
pattern, we cut the new metal plates in the correct shape, and did a try out on
the car. After a bit extra modelling, we placed the door frame on the
aluminium, and used then that as a pattern (+ 2 cm) to cut out the definitive door
skin.
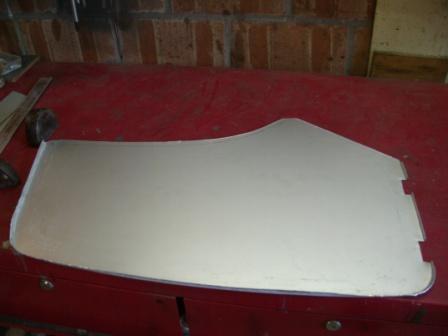
The plate came then on the naked door frame, fixed in place with
spanners and plywood, and was hammered around the metal plates, creating a
double edge. On the top side the plate was plied direct on the wooden frame and
fixed with nails. And thats it!!!
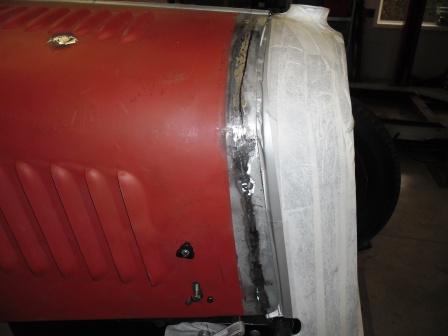
And now I am fighting a real war with the bonnet. She(according to the
problems I came on it must be female) was in a very bad state, and the shape
was if like a truck run over it... twice J. The front side was corroded and sharp as a
knife, so I had to make a new front strip for it, 5 cm wide. Then plied that
over on one side, so creating a double edge. That is not only very strong, but
also can be plied in correct bonnet shape. After a visual test to see if it
would follow the line of the radiator, we cut off a ± 4,5 cm strip from the
bonnet front, and welded the new front side on with the TIG. Until that stage I
hoped no I was sure - that the front
of the bonnet would nicely follow the shape of the radiator. But that would
have been too good to be true. Although the result was already nice, it was
clear that Santa Claus does not come for grown ups with bonnet dreams J. But still I
was happy with the result, it was not bad at all.
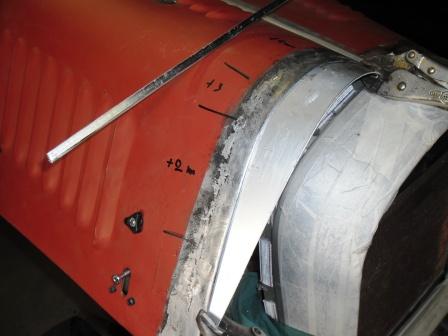
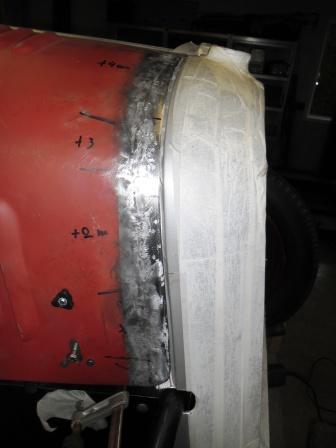
To have the shape correct - we speak about a few millimetres only on
some places - I am now preparing everything to adjust the shape of the bonnet
to that from the radiator. That has to be with lead, it has to be strong. Not a
real easy job, but one that I did before and with success. So I am convinced
that I can reach the result that I like.
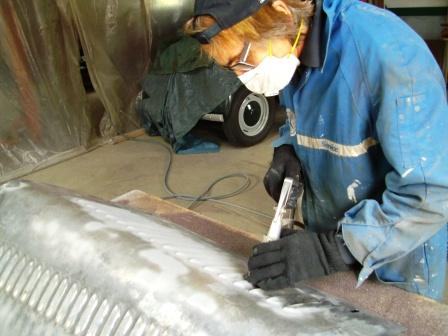
A first and very important stage is the preparation of the metal, it
must be 100% clean to give a correct grip to the lead. Than bringing on a thin
coat of fluid lead on it with a brush, warm that up with a small (gas)flame,
and when it gets flow able clean it up a little with a clean rag. A tinned
surface must be the result.
Than taking a rod of lead, warm it up next to the prepared surface, and
melting it on in little dots. After that I warm it again a bit, and push the
lead in the (almost) right shape with a wooden spoon. After that, the body
file, elbow grease and a good eye, must do the rest.
27-12-2013, 11:55
Geschreven door Jeff OdH 
|


